VOLKSWAGEN TRANSPORTER CAMPERVAN CONVERSION
VW Volkswagen Transporter Campervan Conversion: Build Your Dream VW Camper from Scratch!
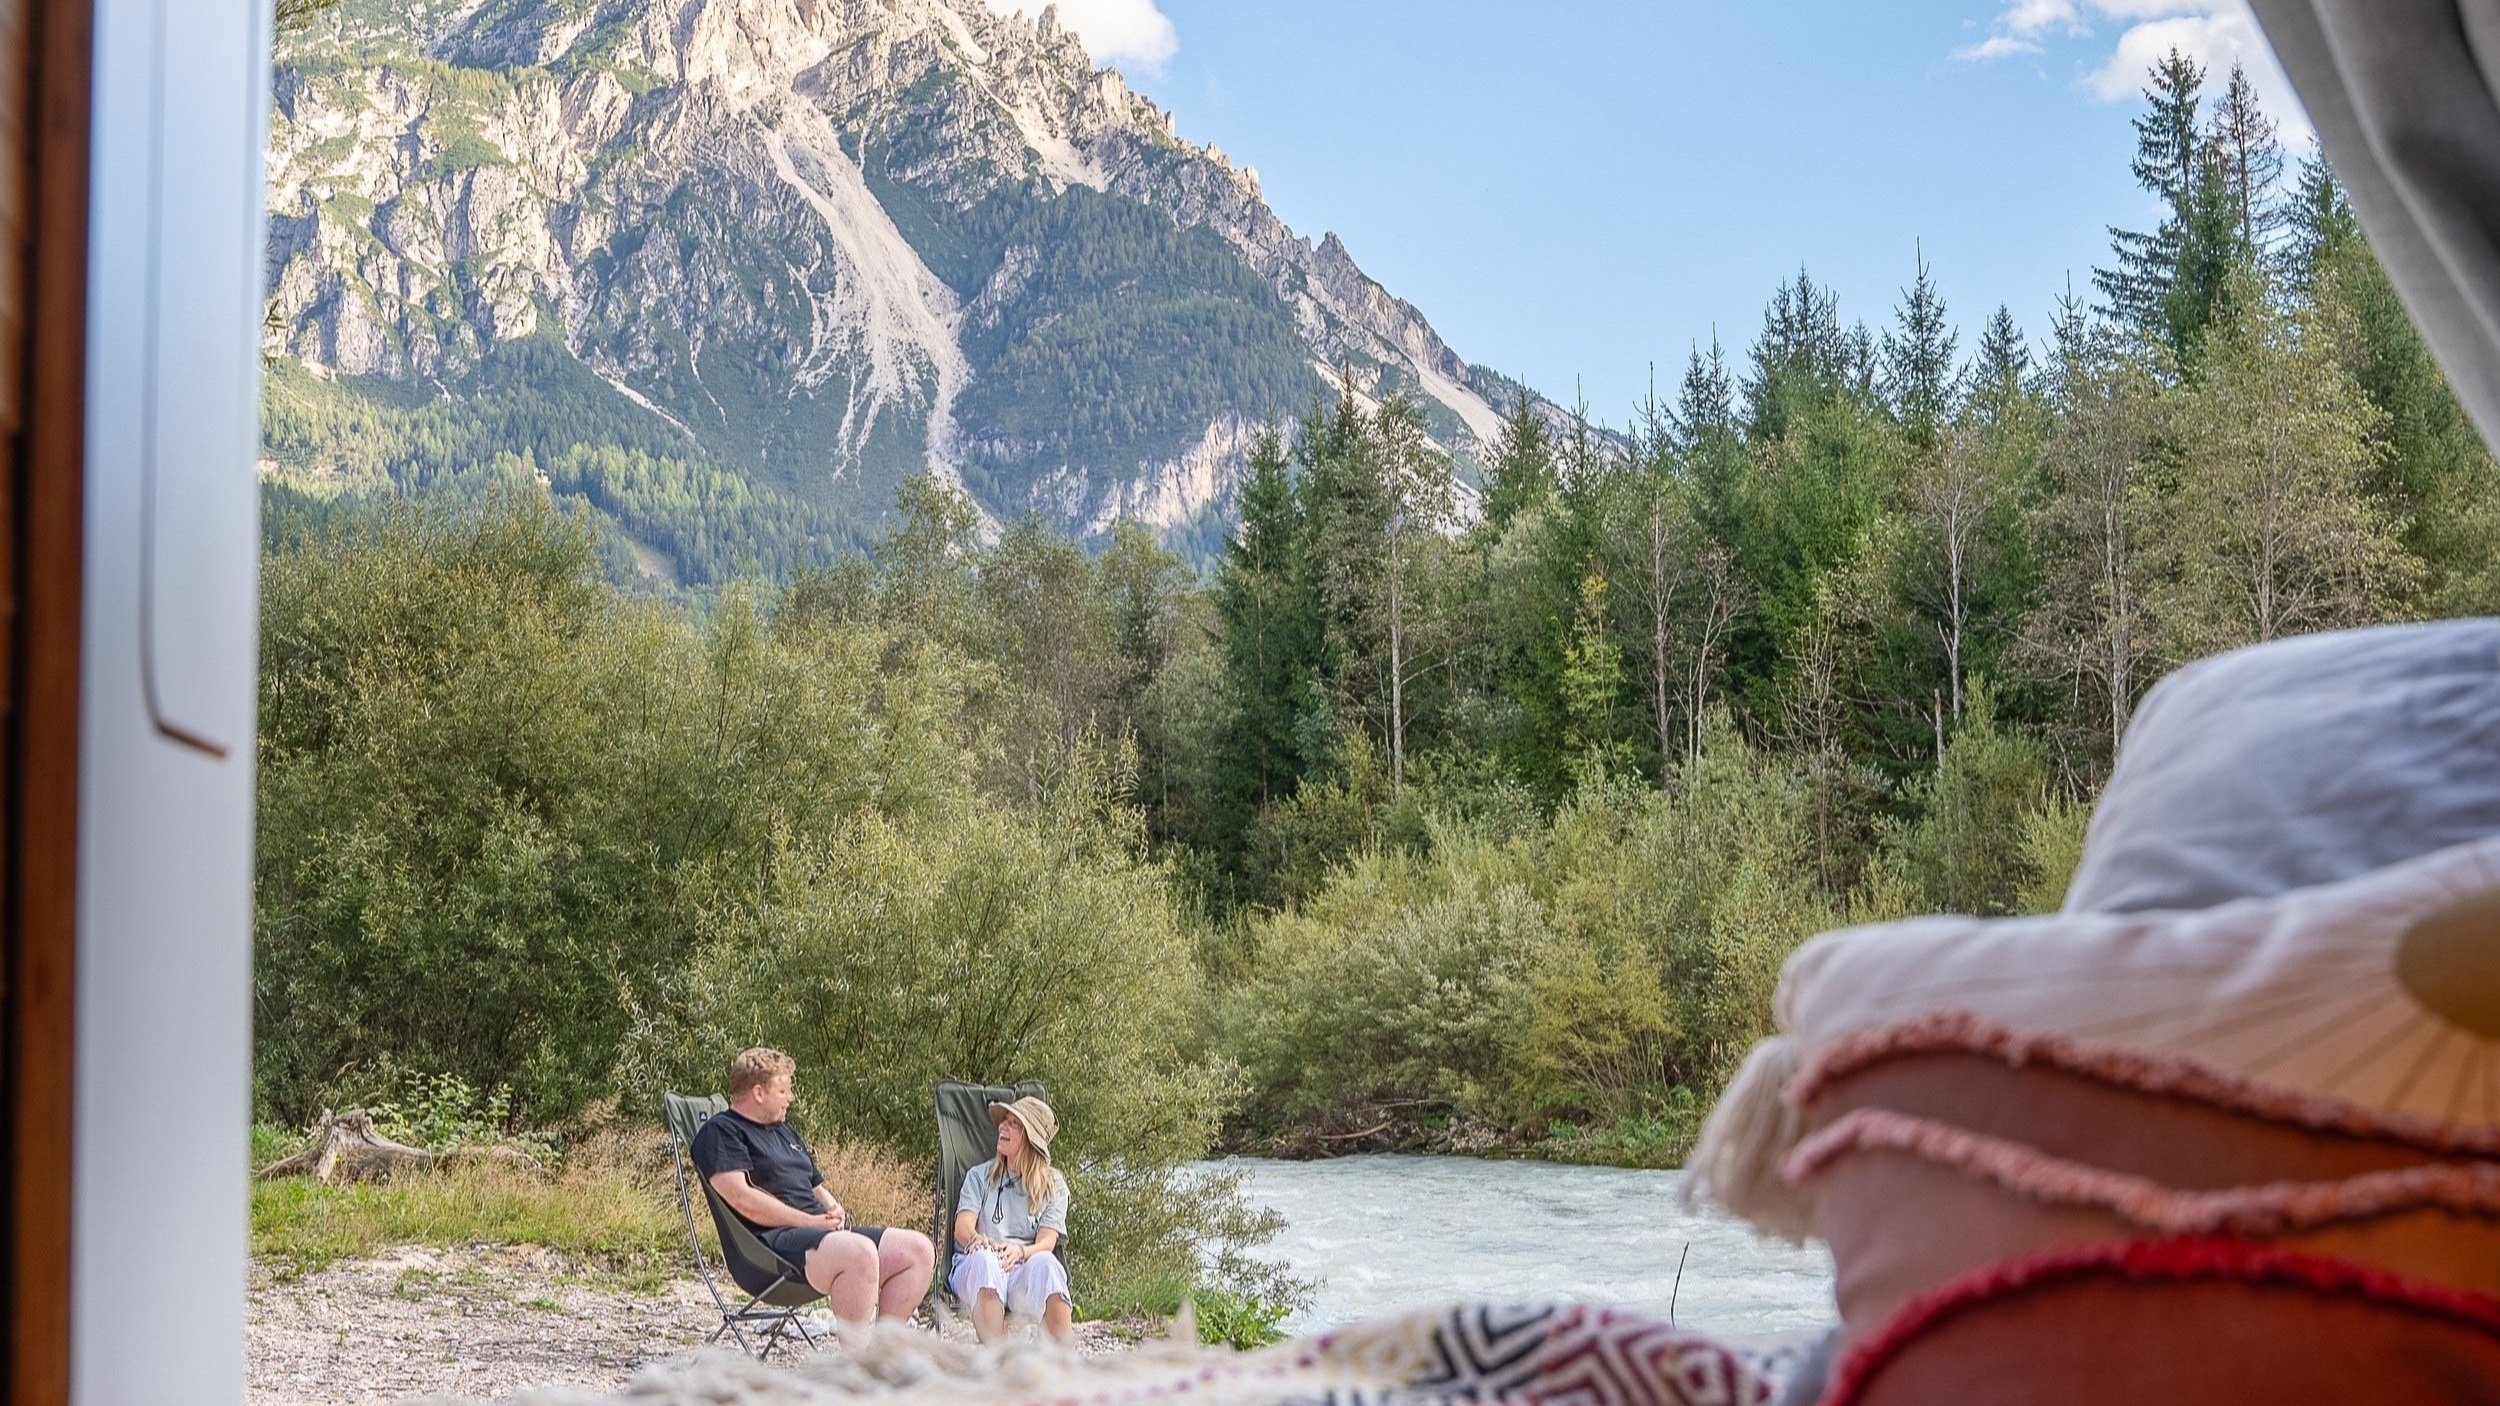
Have you ever wondered of the freedom of a campervan, where a tiny home on wheels can whisk you away to immerse yourself in nature? We have too!
After years of exploring the stunning landscapes of the UK with just a trusty tent and wild camping in some of the country’s most dramatic peaks, we realised that to keep our passion for the outdoors alive through every season, a campervan was the perfect solution.
With a modest budget and a handful of ideas, we began our search for the ideal base vehicle for our conversion. And that’s when we discovered the legendary, ever-popular VW Transporter!
In this blog, we’ll share everything we did to transform our van into a cosy camper. We’ll cover the companies we purchased from, the costs involved, and plenty of useful tips to guide you along the way! And don’t worry—we started as complete DIY novices who could barely use a drill!
Want a Video overview? Check out our popular YouTube video for tons of info and pricing details here:
Disclaimer: Our top tip for anyone embarking on a camper conversion is to rent a similar one first. It might seem like a waste of money when you're already invested in getting a camper, but trust us—you'll learn so much about camper living from just a few days in one!
The biggest shock for us when we first rented a short-wheelbase VW Transporter camper was how compact the living space really is. You could whip up a couple of sandwiches and suddenly the whole place feels upside down! Your back might be sore and escaping from your fellow guests can be a challenge, but it’s still an incredibly magical experience!
This rental gives you invaluable insight into size, driving comfort, and, most importantly, whether the camper layout suits your needs. For us, after our trip to the Lake District, we made two key decisions: we wanted our camper to be completely off-grid and decided to ditch the traditional rock-and-roll bed in favour of an L-shaped couch. More on that later!
Final note: We were not sponsored for any of our recommendations or the companies we used; we chose them based purely on our own research.
Finding Your Transporter
When we were searching for our camper, we unfortunately faced the crazy Covid prices, which meant even base-level campers with no conversions were going for outrageous sums.
As a side note, we initially considered buying a Ford Transit Custom, as they were much more affordable. However, a few experienced truck and van salesmen at my work advised me that a VW camper would hold or even exceed its value much better than a Ford. After all, these little VW buses are trendy, convenient and highly sought after!
For our base van, we had a few essential criteria to keep in mind for your own search:
- Under 110,000 miles if possible
- Less than 10 years old (or close to it)
- Full service history was essential
- If it had over 70,000 miles, we needed proof of the cambelt and water pump replacement, or a reduction in price
- We didn’t prioritise air conditioning, but that could be a factor for you
- Ideally, it shouldn’t have been used for heavy loads
Where to Find One?
- Autotrader
- eBay (I was skeptical )
- Facebook Forums (this is where we found ours!)
- Local van dealers
I highly recommend scouring Facebook Marketplace and forums, where you can find plenty of transporter enthusiasts buying and selling regularly. Some useful forums include:
- VW T5 T6 Forum UK
- VW Campers & Transporters for Sale
- VW Transporters for Sale
- VW Transporter Owners
These platforms often feature base vans perfect for conversions!
Pro Tip: You might score a better deal by purchasing in the winter. Prices tend to drop, and demand decreases during the colder months—especially since most potential camper converters only start waking up around Easter, eager to get their hands on a van!
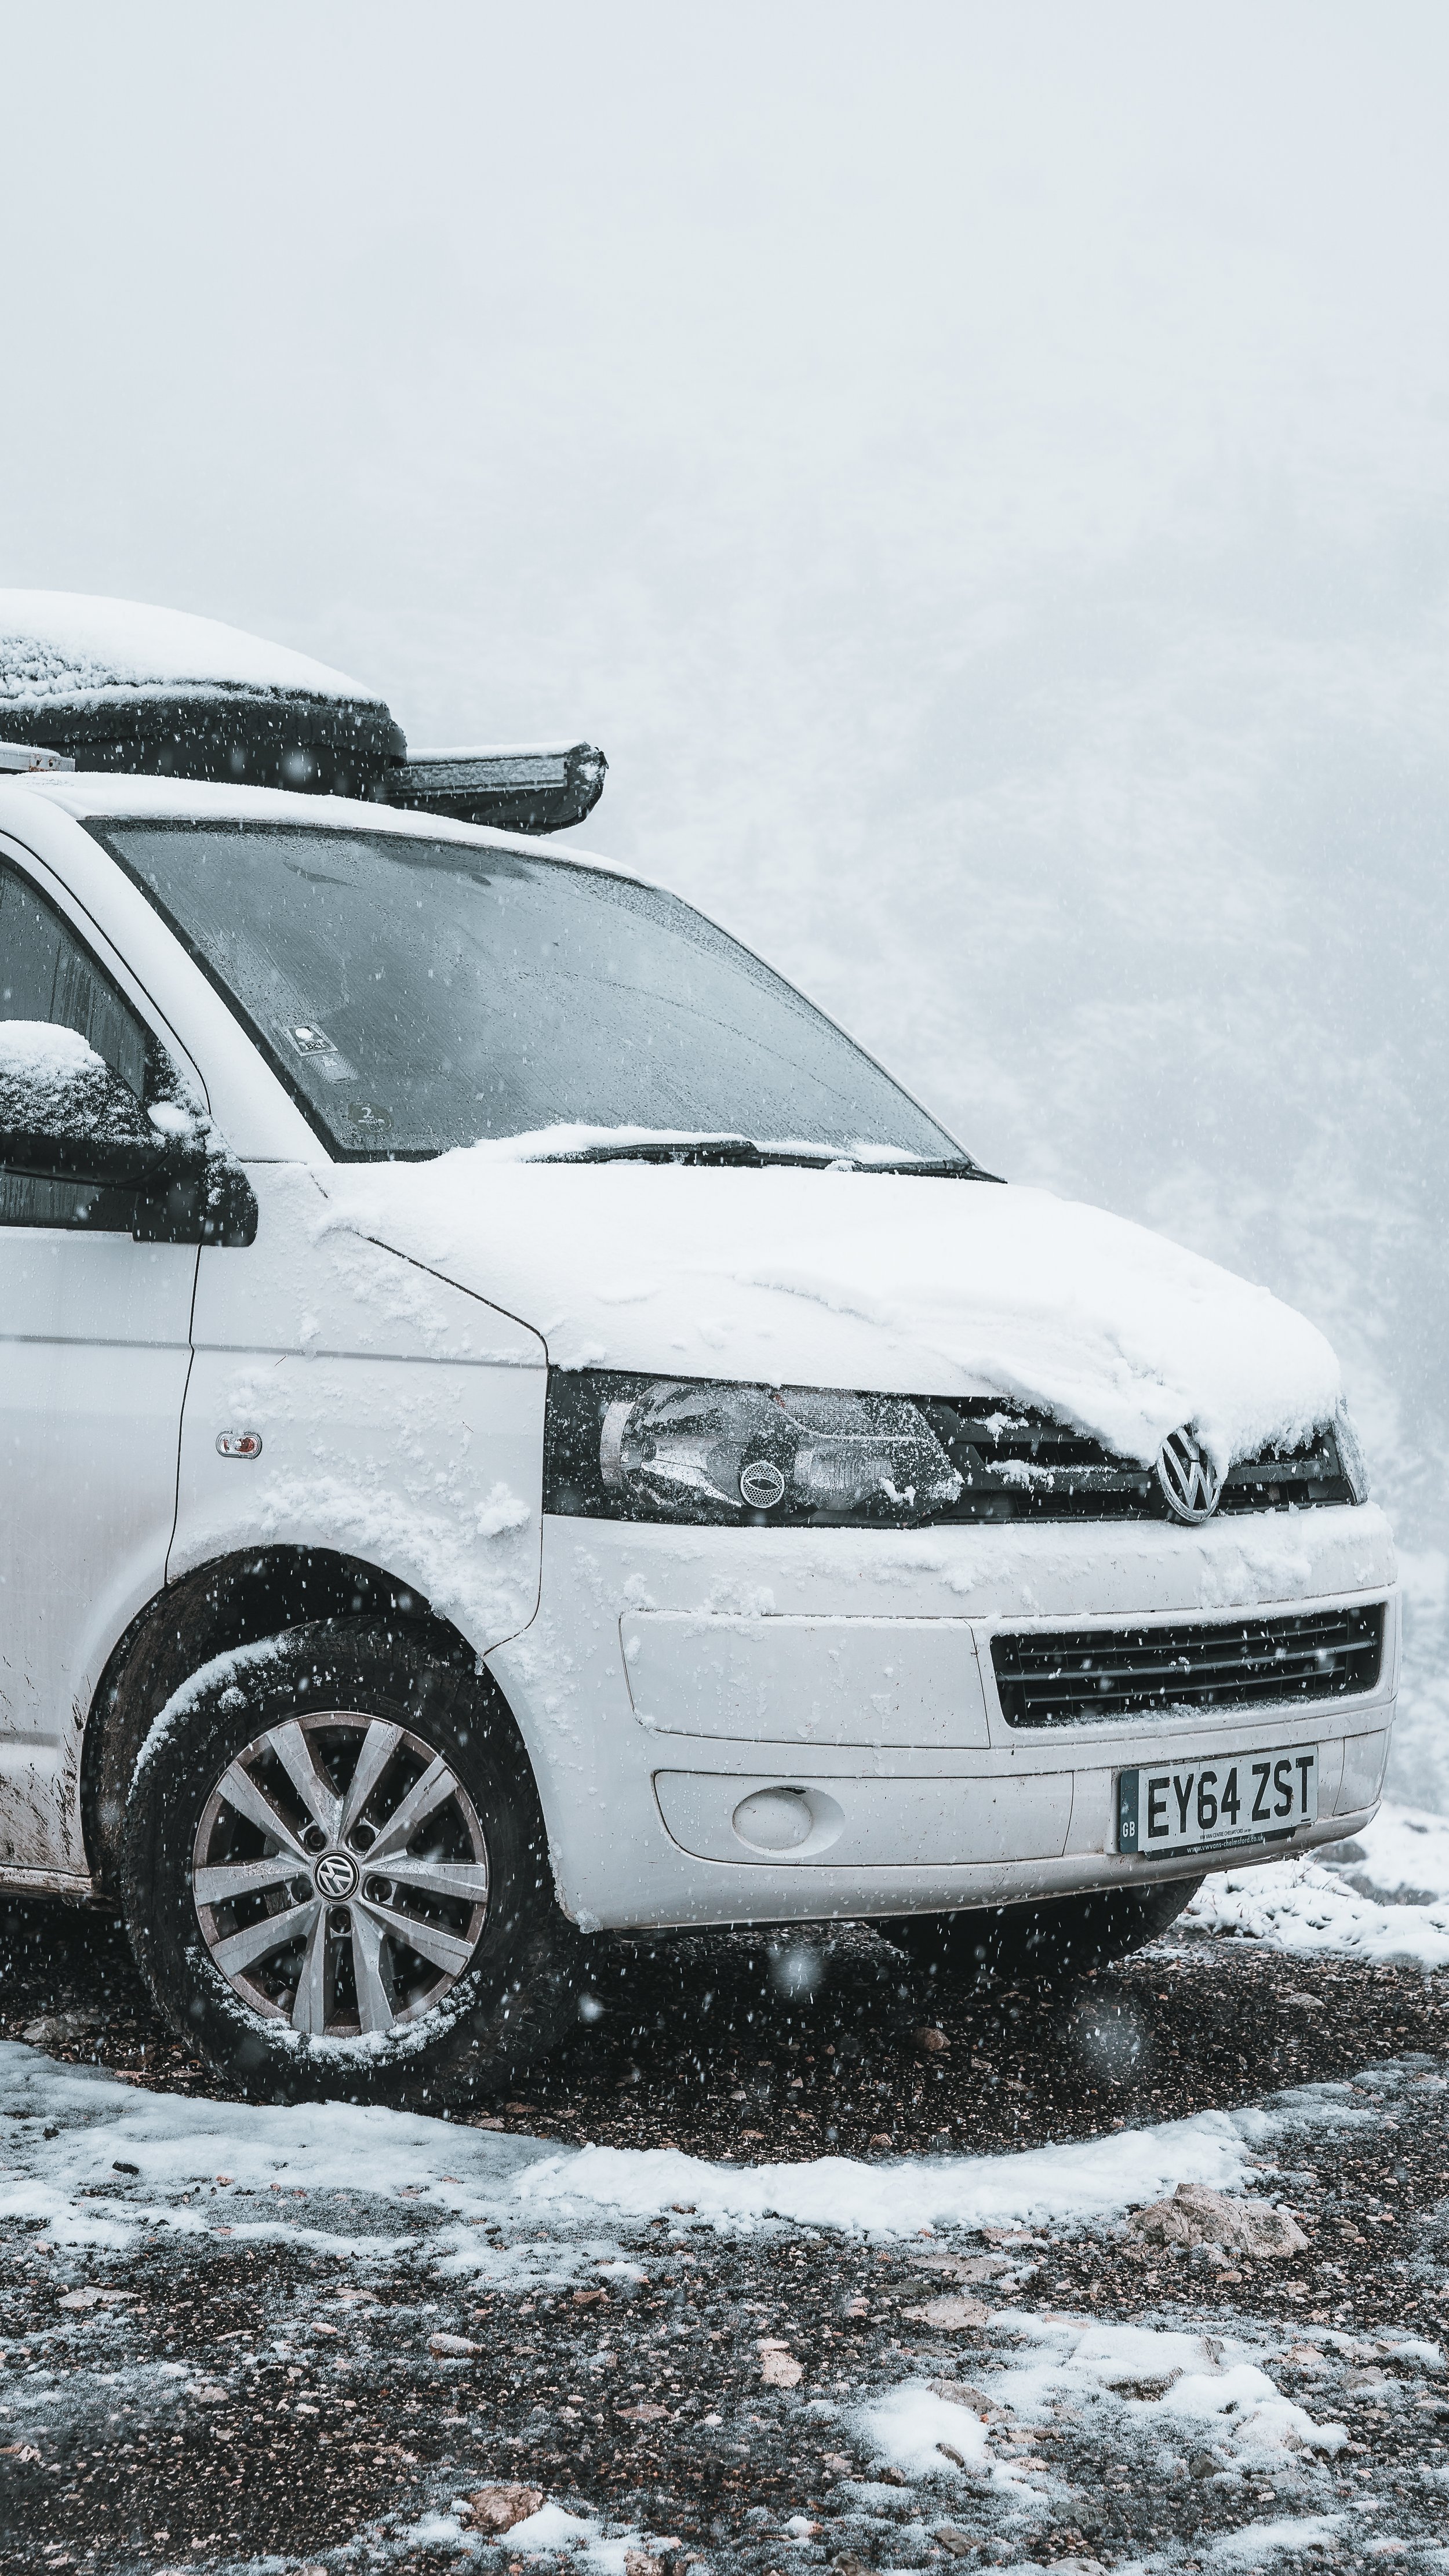
Our final purchase was from a great guy named Tom down south, who was a joiner tired of London’s ULEZ fiasco. We bought our 2014 SWB T28 (T5) Transporter 2L Diesel, with 100,000 miles and a full service history, for £10,000 in July 2022. It had no air conditioning and was as basic as they come—but we loved it!
Okay, enough rambling! Here’s a breakdown of everything we did to transform our former joiner’s van into our beautiful home on wheels.
Step 1: Back to Metal
The first step of our van conversion journey is always the most exhilarating: stripping everything down to the metal! For many vans, this involves removing internal racking and boarding. Since a lot of these vehicles come pre-boarded, taking the time to clean the metal base is a smart practice.
We also applied a trusty coat of Red Oxide paint to cover any screws and prevent rust from developing in the future.
Step 2: Let There Be Light!
As complete novices, we felt a mix of excitement and fear at the thought of drilling large holes into our new van to install windows. While countless YouTube tutorials make it look doable for handy folks, we were intimidated by the idea of cutting into our new van.
To ease our worries, we opted to using a local window fitting company to handle the installation. When choosing windows, there are various options available and costs can differ. We decided on two sliding side windows—ideal for ventilation as well as two rear barn door windows (or one large window if you have a tailgate).
We chose https://cheshirevehiclewindows.co.uk/ located just 40 minutes away. For £610 cash, they supplied and fitted the windows at their workshop in under half a day.
Step 3: Remove the Bulkhead
At this stage, consider having a pop-top roof fitted. While we decided against it to save on costs, getting a pop-top installed early in the process can be highly beneficial.
To maximise space and accommodate swivel seats if desired, the next crucial step is to remove the bulkhead. Although the process can be a bit fiddly, it’s manageable and not overly strenuous.
How to Remove the Bulkhead
Gather Your Tools: You’ll need a socket set and a screwdriver for this task.
Remove the Bolts: Start by carefully removing the bolts that secure the bulkhead to the van. Pay special attention to the plastic pillars where the seatbelts are anchored.
Angle Grind the Lip: It’s also advisable to angle grind the leftover lip at the bottom of the van. Don’t worry—there are plenty of helpful tutorial videos available online to guide you through this process, and it won’t take long at all.
By removing the bulkhead, you’ll create a more spacious and inviting environment for your van conversion. Stay tuned for the next steps as we continue transforming our van into the ultimate adventure vehicle!
Step 4: Insulation Time
Now comes one of the most crucial parts of the build: insulation! While it can be a bit labor-intensive, properly insulating your van is essential for transforming it from a metal box into a comfortable living space. Good insulation will help regulate the temperature in both summer and winter, making your van truly livable.
Our Insulation Process
Dodo Sound Deadening Tiles: We started with these tiles to reduce noise and vibrations, creating a quieter environment inside the van.
Dodo Insulation Roll: This roll provides excellent thermal insulation, ensuring your van stays warm in the winter and cool in the summer.
Recycled Plastic Bottle Insulation: We filled larger gaps with recycled plastic bottle insulation, a sustainable option that offers great performance.
Silver Bubble Wrap Moisture Barrier: This acts as a moisture barrier, preventing condensation and helping to maintain a comfortable interior.
Additionally, we insulated the floor, as a significant amount of heat can escape from this area. To do this, we raised the floor using 8mm battens, placing insulation and sound-deadening tiles between them. Once this was done, we were ready to lay down plywood on top. While this process does slightly reduce the height inside the van, we figured that since headroom was already limited, it was worth it to improve insulation. Plus, this method allowed us to screw into the battens instead of the van's metal.
You can find our insulation here:
https://www.amazon.co.uk/shop/ourwildventures_?ref_=cm_sw_r_cp_ud_aipsfshop_96HH4G51TSTRPA68Z3VH
Total insulation cost: £300
Battons and Ply: £40
Step 5: Carpet Lining for Your Camper
Transforming your camper from a metallic spaceship into a cosy retreat is all about the carpet lining. It adds warmth and personality to your space!
Check out the carpet lining we chose for our conversion: Easyliner Lining Carpet Kit.
4-way stretch carpet is the star of the show! This kit includes adhesive, making it easy to achieve a seamless look. Plus, a set of trim tools will help you navigate those tight spaces effortlessly.
Simply Spray the adhesive on both the back of the carpet and the metal surface you're covering and apply pressure while stretching to ensure a snug fit.
I won't bore you with every little detail—there are fantastic tutorials on YouTube that can guide you through the process. Just remember to stock up on Stanley knife blades, as cutting through carpet can dull them quickly. And most importantly, wear a protective breathable mask; the adhesives can be TOXIC!
Total Cost: Just £155 for carpet lining the entire van!
Step 6: Installing the Ceiling and Walls
When it comes to the ceiling, you have a world of options! From pre-made panels that you can easily glue on to carpet lining, the choice is yours. If you have a pop-top, your provider may have already installed a solution for the roof.
Our Choice: Tongue and Groove Cladding We opted for tongue and groove cladding from B&Q. To start, we purchased 8m thin battens and glued them along the curve of the roof. This created a solid base for attaching the cladding.
Installation Steps:
Measure and cut each piece of wood to fit from front to back.
Use small pins to secure the cladding to the battens—this keeps it less noticeable than screws.
For a unique touch, we brought the cladding down the sides as well. We created a curve from the wall to ensure the cladding laid flat against the sides.
Next, we stained the wood to our desired colour and left holes for future lighting installation.
Hopefully, the accompanying pictures will help illustrate the process!
Total Cost for Cladding: Just £85!
Step 7: Adding vinyl flooring to the ply
After all the staining, gluing, and general chaos from insulation, carpet lining, and roof finishing, it was finally time to install our shiny new floor. For campers, vinyl flooring is an excellent choice! It’s budget-friendly, waterproof, and incredibly easy to clean.
Installation Made Simple:
Cut the vinyl to fit the dimensions of your floor.
Glue it down just like you did with the carpet lining.
With this quick and straightforward process, you’ll have a beautiful, functional floor in no time!
Total Cost for Flooring: Just £40!
Step 8: Installing the Kitchen and Bed
Now that all the hard work on the foundations is complete, it’s time to move on to our kitchen and bed!
We sourced both our kitchen and bed as flat-pack units from Van Furniture. Not sponsored, but we genuinely love their designs and wood finishes! Unlike some kitchens that can look too plastic, these pieces have a beautiful, high-quality aesthetic.
Putting it all together was a bit tricky. We had to do some scribing to ensure a perfect fit in the van, but with a little creativity and patience, we made it work—and it looks fantastic! You can check out their kitchen here. The total cost for the kitchen was £1,430 - spenny!
When it came to the bed, many people opt for a rock and roll (R&R) bed, which doubles as passenger seating and converts into a bed—great for camping with family. For example, a family of four could use the front seats for two and the back for two more, then sleep in the pop-top and on the R&R bed.
However, we preferred the design of an L-shaped couch. Since we already have another car at home, we didn’t need extra seating, and the L-shape felt more spacious and inviting—just a matter of personal preference! The cost of the bed was £500, with additional cushions costing around £380. You can find the L-shaped bed here.
With our kitchen and bed in place, the camper is really starting to feel like home!
Step 9: Time for Power!
You might be wondering why we’re installing the electrics so late in the build, and to be fair, it is a bit late! However, we had already planned where everything would go, and it was easier to finalise the setup once the kitchen unit was in place. Since our kitchen occupies the entire driver’s side of the van, it provided a perfect spot to hide the wiring behind the units.
For our electrics, we utilised the seat base of the driver’s seat as the host location. It had plenty of space for everything we needed to get up and running. We opted for an off-grid setup because we didn’t want to rely on campsites; we aimed to be fully self-sufficient.
To achieve this, we installed two main power sources. First, a Relay Split Charger allows the main battery of the van to charge the leisure battery while driving. Second, we added a solar panel, which still amazes me even after all this time. We’re spending six months traveling around Europe in our little home on wheels, and the solar panel is a game changer! It keeps our battery topped up, allowing us to use all our electrics for days—even on cloudy days.
Our electric setup powers essential items like the fridge, lights, diesel heater, four USB sockets, and the water pump for the sink. For this, we turned to Rayne Automotive, a fantastic company that made the process straightforward. You fill out a form detailing your needs and usage intentions, and they suggest a tailored setup, sending everything you need along with a detailed installation kit. I highly recommend them! You can check them out here.
As a side note, since we were on a tight budget, we opted for a 95Ah AGM battery. AGM batteries are a more affordable option and typically perform well, but they can only be discharged to 50% before damage occurs. After a year and a half of heavy use, especially in winter, our leisure battery started to show signs of wear, leading to a replacement.
In Milan, a great company suggested upgrading to lithium batteries. After consulting various Facebook forums to see if it was worth the investment, we decided to make the switch. The difference has been incredible! Lithium batteries charge quickly and deplete very little, so we find ourselves above 80% battery level almost all the time. With just a bit of sun, we could go weeks without needing to move. It truly is a game changer!
To wrap it up, our total cost from Rayne Automotive was £828, which included fixtures, wiring, the battery, solar setup, split charger, and fuse box. The lithium upgrade, along with a DC to DC charger, cost an additional £700.
Step 10: Accessories
Now it’s time to enhance our camper with some essential accessories!
First up is the Dometic Smev 9222 Hob and Sink, priced at £350. This handy combo provides both cooking and washing facilities, making it perfect for our adventures.
Next, we installed the Dometic CRX50, a top-notch energy-efficient fridge at £530. It’s considered the best in its class and keeps our food fresh while consuming minimal power.
We also added a diesel heater from Crafta Camper. This guy is a game changer! He takes Chinese diesel heaters, upgrades the components for better reliability, and offers them at a fraction of the cost compared to European models, which often exceed a thousand pounds. The total cost for the diesel heater, including supply, installation, plumbing into the fuel tank, and fitting under the van (with only the outlet inside) was £545.
.
The Moment You’ve All Been Waiting For: THE GRAND TOTAL!
After all the hard work, the grand total for our camper conversion comes to £5,773 before our battery replacement and £6,473 with the new battery! When you look at the current market, the cheapest decent van conversions start at around £15,000, and often they’re pretty basic with little customisation.
But nothing beats the pride of knowing you’ve built your own camper and can enjoy the fruits of your labor out on the road!
We hope this inspires you to embark on your own van conversion journey. Be sure to check out our video for a more visual guide, and if you have any questions, feel free to drop a comment on any of our YouTube videos—we’ll be sure to get back to you!
Also, don’t forget to check out our Amazon recommendations for products and accessories we used during the build: OurAmazon Shop.
Thanks for following along, and we can’t wait to see you out on the road!
Ryan and Beth :) xxx

